
Introduction
Online advertising and tracking is a big problem. It’s annoying, it’s invasive, and it’s a security risk. There are in browser ad blockers like uBlock Origin, but they only work in the browser. Some devices like set top boxes and smart televisions have no support for those extensions. What if you want to block ads and trackers on all devices on your network?
AdGuard Home is a network-wide ad-and-tracker blocking DNS server. It’s designed to be lightweight and use minimal resources, making it ideal for running on a Raspberry Pi or other low-powered device. And the best part? It’s free and open-source.
In this guide, I’ll show you how to set up AdGuard Home on your Raspberry Pi or other computing device using Docker Compose.
Prerequisites
- A Raspberry Pi or other computing device to host the software
- Docker with Docker Compose installed on the host
- Home network with administrator access to the router
Installation
We will be using Docker Compose to define our AdGuard Home service. We could also just run the AdGuard Home container with a docker run command, but using Docker Compose makes it easier to manage the container and its configuration. Create a new directory for your AdGuard Home configuration and create a compose.yml file with the following contents:
name: adguardhome

services:
  adguardhome:
    image: adguard/adguardhome
    ports:
      - 53:53/tcp # plain dns over tcp
      - 53:53/udp # plain dns over udp
      - 80:80/tcp # http web interface
      - 3000:3000/tcp # initial setup web interface
    volumes:
      - config:/opt/adguardhome/conf # app configuration
      - work:/opt/adguardhome/work # app working directory

volumes:
  config:
    driver: local
  work:
    driver: local
Compose file explanation
The compose.yml file defines a single service called adguardhome that uses the adguard/adguardhome image from Docker Hub. The service exposes ports 53 and 80 for DNS and web interface access, respectively. You need to ensure these ports are not already in use on your host system.
It also mounts two volumes for the configuration and working directory of the AdGuard Home application.
Starting the service
To start the AdGuard Home service, run the following command in a terminal window in the same directory as the compose.yml file:
docker compose up -d
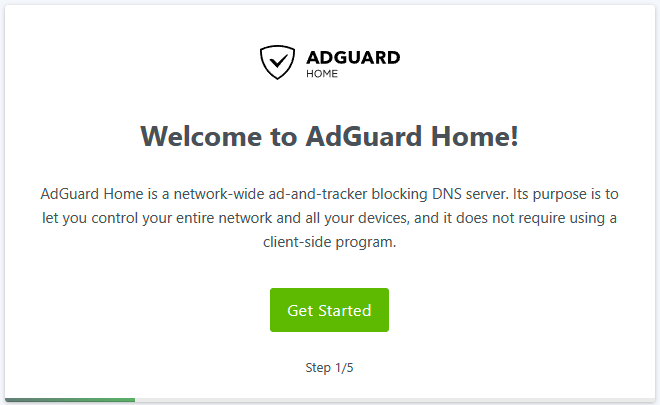
This command will download the AdGuard Home image from Docker Hub and start the container in the background. After a few seconds, you should be able to access the AdGuard Home web interface by navigating to http://<your-host-ip>:3000 in a web browser. Replace <your-host-ip> with the actual IP address of your Docker Compose host. If all goes well, you should see the following welcome page. Hit the Get Started button to begin the initial configuration.
Initial configuration
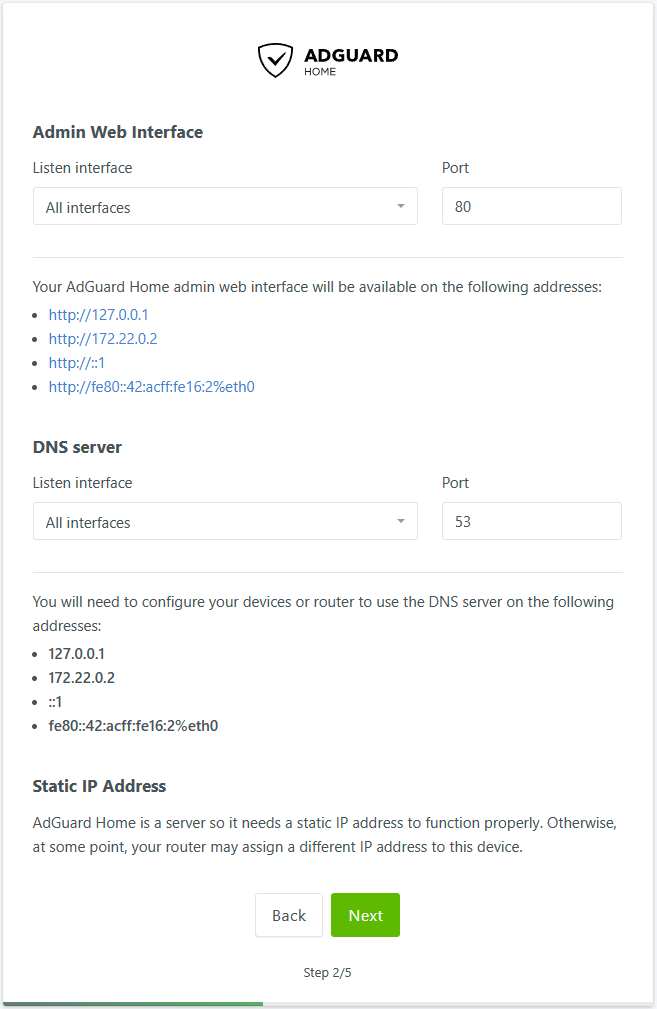
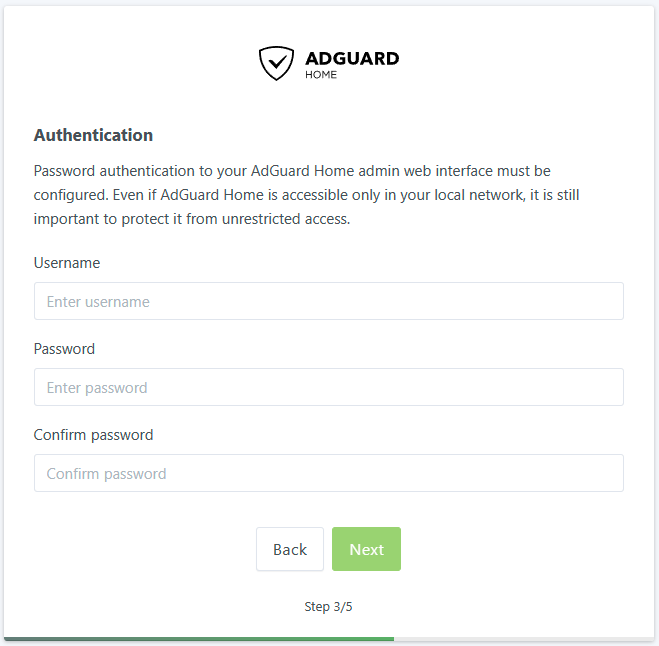
Proceed through the initial configuration steps to set up your AdGuard Home instance. You can choose to use the default settings or customize them to your liking. By default, the setup wizard will revert to using the standard HTTP port (80) to serve the web interface. Once you’ve completed the setup, you should see the main AdGuard Home login page.
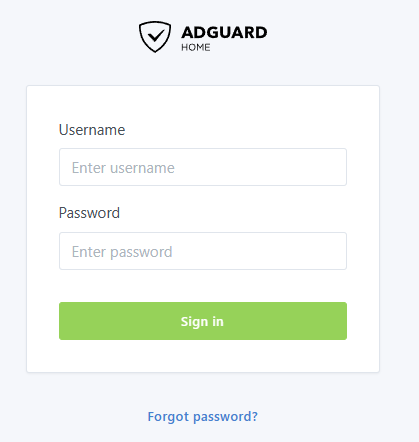
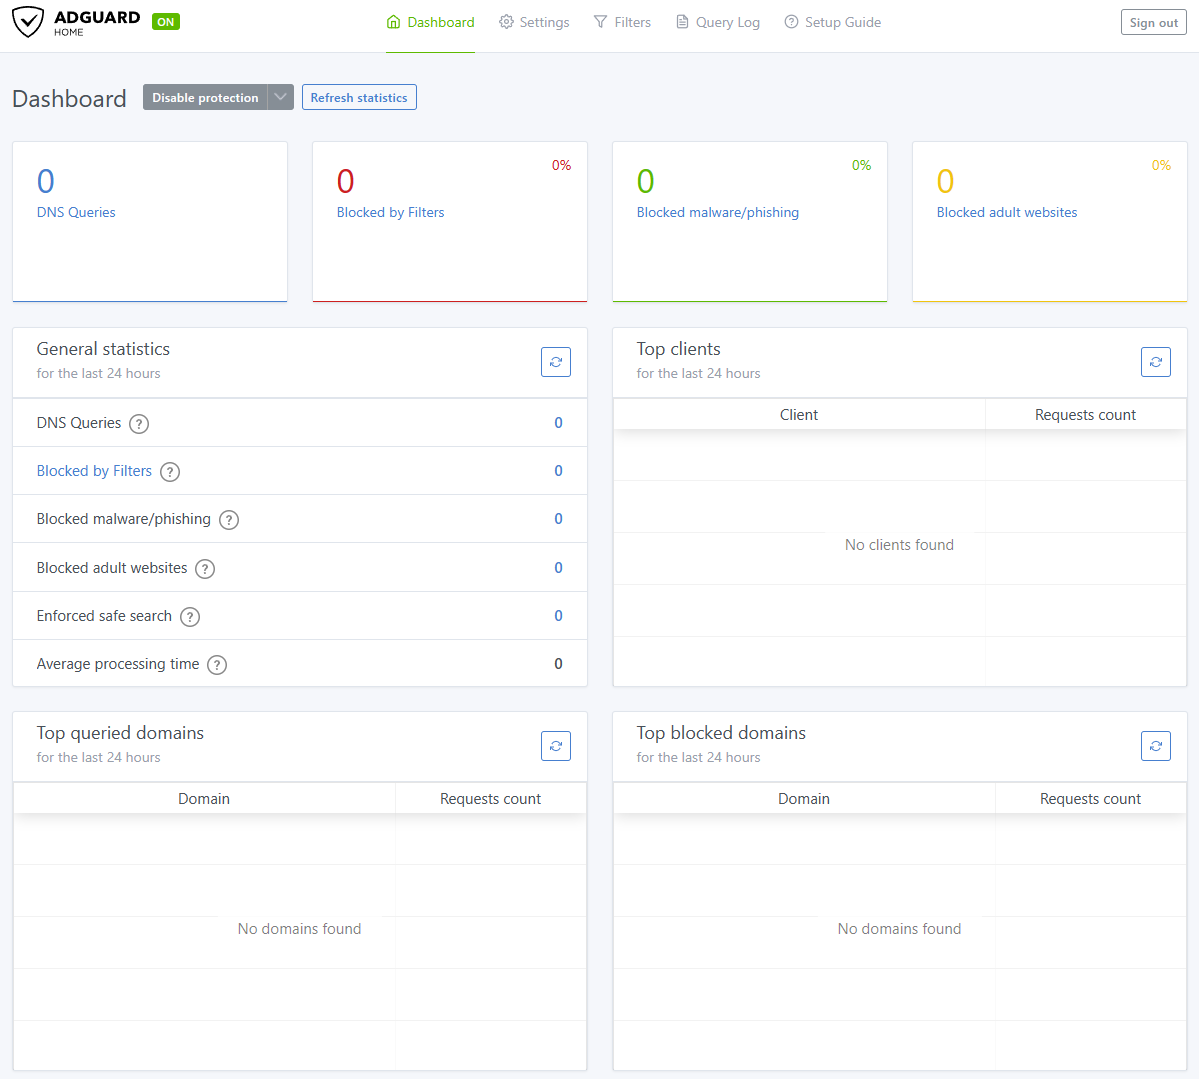
Enter the username and password you set during step 3 of the initial configuration to log in to the AdGuard Home web interface. You should now see the main dashboard, which displays statistics about the number of queries blocked and other useful information.
Adding upstream DNS servers
AdGuard Home allows extensive customization of DNS settings, including the ability to use custom upstream DNS servers. By default, AdGuard Home uses its own DNS servers, but you can change this to use other DNS providers like Cloudflare, Google, or OpenDNS.
To change the upstream DNS servers, navigate to the Settings tab in the AdGuard Home web interface and select the DNS settings option. You can add multiple upstream DNS servers and choose the preferred protocol (DNS over HTTPS, DNS over TLS, or plain DNS).
Here are the upstream DNS servers I am using:
9.9.9.9
149.112.112.112
https://dns.quad9.net/dns-query
tls://dns.quad9.net
1.1.1.1
1.0.0.1
https://dns.cloudflare.com/dns-query
tls://1dot1dot1dot1.cloudflare-dns.com
8.8.8.8
8.8.4.4
https://dns.google/dns-query
tls://dns.google
Test DNS resolution
To verify that AdGuard Home is working correctly, you can perform a DNS resolution test using nslookup or dig commands. Open a terminal window on your host system and run one of the following commands:
Using nslookup (Windows)
nslookup google.com <your-host-ip>
Using dig (Linux/macOS)
dig google.com @<your-host-ip>
Replace <your-host-ip> with the IP address of your Docker Compose host. If AdGuard Home is working correctly, you should see a response with the IP address of the domain you queried.
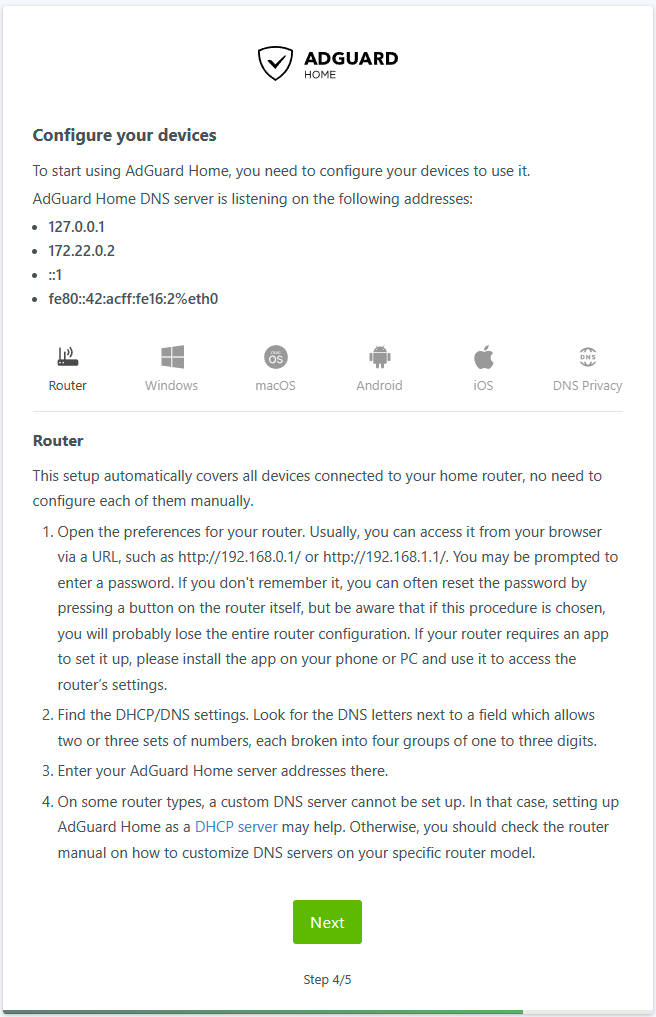
Configuring your router
At this point, you have a working AdGuard Home instance that can block ads and trackers on your local network. To take full advantage of AdGuard Home’s capabilities, you need to configure your router to use AdGuard Home as the primary DNS server for your network. This step will vary depending on your router model, but the general process is as follows:
Log in to your router’s administration interface and look for the DNS settings. Usually the router will assign itself as the primary DNS server by default but you can override this setting with the IP address of your AdGuard Home instance. Change the primary DNS server to the IP address of your Docker Compose host running AdGuard Home. Save the changes and restart your router to apply the new settings.
Conclusion
Congratulations! You’ve successfully set up AdGuard Home using Docker Compose. You now have a network-wide ad-and-tracker blocking DNS server that can protect all devices on your local network. Enjoy a cleaner, faster, and more secure browsing experience with AdGuard Home.